入门Android应用开发,第一步当然是最基本的 UI 设计。这里简单介绍一下一些基础的布局方法以及如何使用xml构建出一个最简单的搜索界面。🎄
新建应用
首先,使用Android Studio创建一个应用,因为我手机的Android版本是 8.0 的,所以这里的 SDK 也选了 8.0 的。
然后打开app/res/layout/activity_login.xml,就可以进入编辑界面了。
由于Library version 28的一个小 BUG,右边的设计界面是没有任何显示的,根据stack overflow上的帮助,进入res/values/styles.xml中,将
1 | <style name="AppTheme" parent="Theme.AppCompat.Light.DarkActionBar"> |
改成
1 | <style name="AppTheme" parent="Base.Theme.AppCompat.Light.DarkActionBar"> |
然后果然就正常显示了。
XML 布局
Android 的布局一般是使用 XML 进行布局
常见的布局
- 线性布局(LinearLayout)
- 相对布局(RelativeLayout)
- 约束布局(ConstraintLayout)
- 表格布局(TableLayout)
- 框架布局(FrameLayout)
- 网格布局(GridLayout)
约束布局
这里使用到的是比较简单的约束布局ContstraintLayout,也是目前Android应用的主流布局
首先来看一下一个简单的TextView的布局
1 | <TextView |
id是每一个控件特有的标识,要求是当前布局文件下是独一无二的,一个控件的id属性是可选的,如果你需要用到这个属性,那就应该为她设置一个。
对于所有控件,layout_width和layout_height这两个属性都是必须的,一般为
wrap_contentmatch_parent- 具体尺寸
- 当为
0dp的时候,则为match_constratint
- 当为
约束布局主要通过控件的上下左右四个边界来布局,如果左右都约束到parent的两边,就可以实现居中
而TextView的text属性,一般都是放在values/string.xml里面的,然后在其他地方可以通过string/xxx引用里面的资源
插入图片
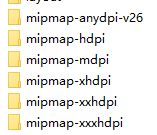
Android Studio官方推荐的资源是放在mipmap里面,而我们可以看到,在res文件夹下面有着很多个mipmap的文件夹,他们分别代表不同的分辨率,把图片放在不同的文件夹里面显示的效果也会不一样的。

至于具体有什么不同可以自己动手试一试
1 | <ImageView |
然后再xml里面设置图片的src属性为@mipmap/文件名就可以引用相对应的资源
strings.xml
在strings.xml里面可以定义所有的字符串,在 Android Studio 里面可以通过Alt+Enter快速重构添加到里面。
这种做法比起直接在xml里面写字符串要好上不少,一来可以很方便地为应用适配不同的语言,二来对于一些重复使用的字符串,如果需要修改只需要修改一个,而不需要到处寻找。
虽然直接写着里面是比较方便,但是在Android Studio的协助下,重构到strings.xml也是十分便捷的。
圆角按钮的实现
按钮本身是没有圆角这个属性的,因此需要通过设置background来使得按钮有圆角
这里是通过shape来实现的
首先,在drawable里面新建一个Drawable resource file

1 |
|
然后把按钮的background属性设置为@drawable/button_radius
就可以实现这样的效果
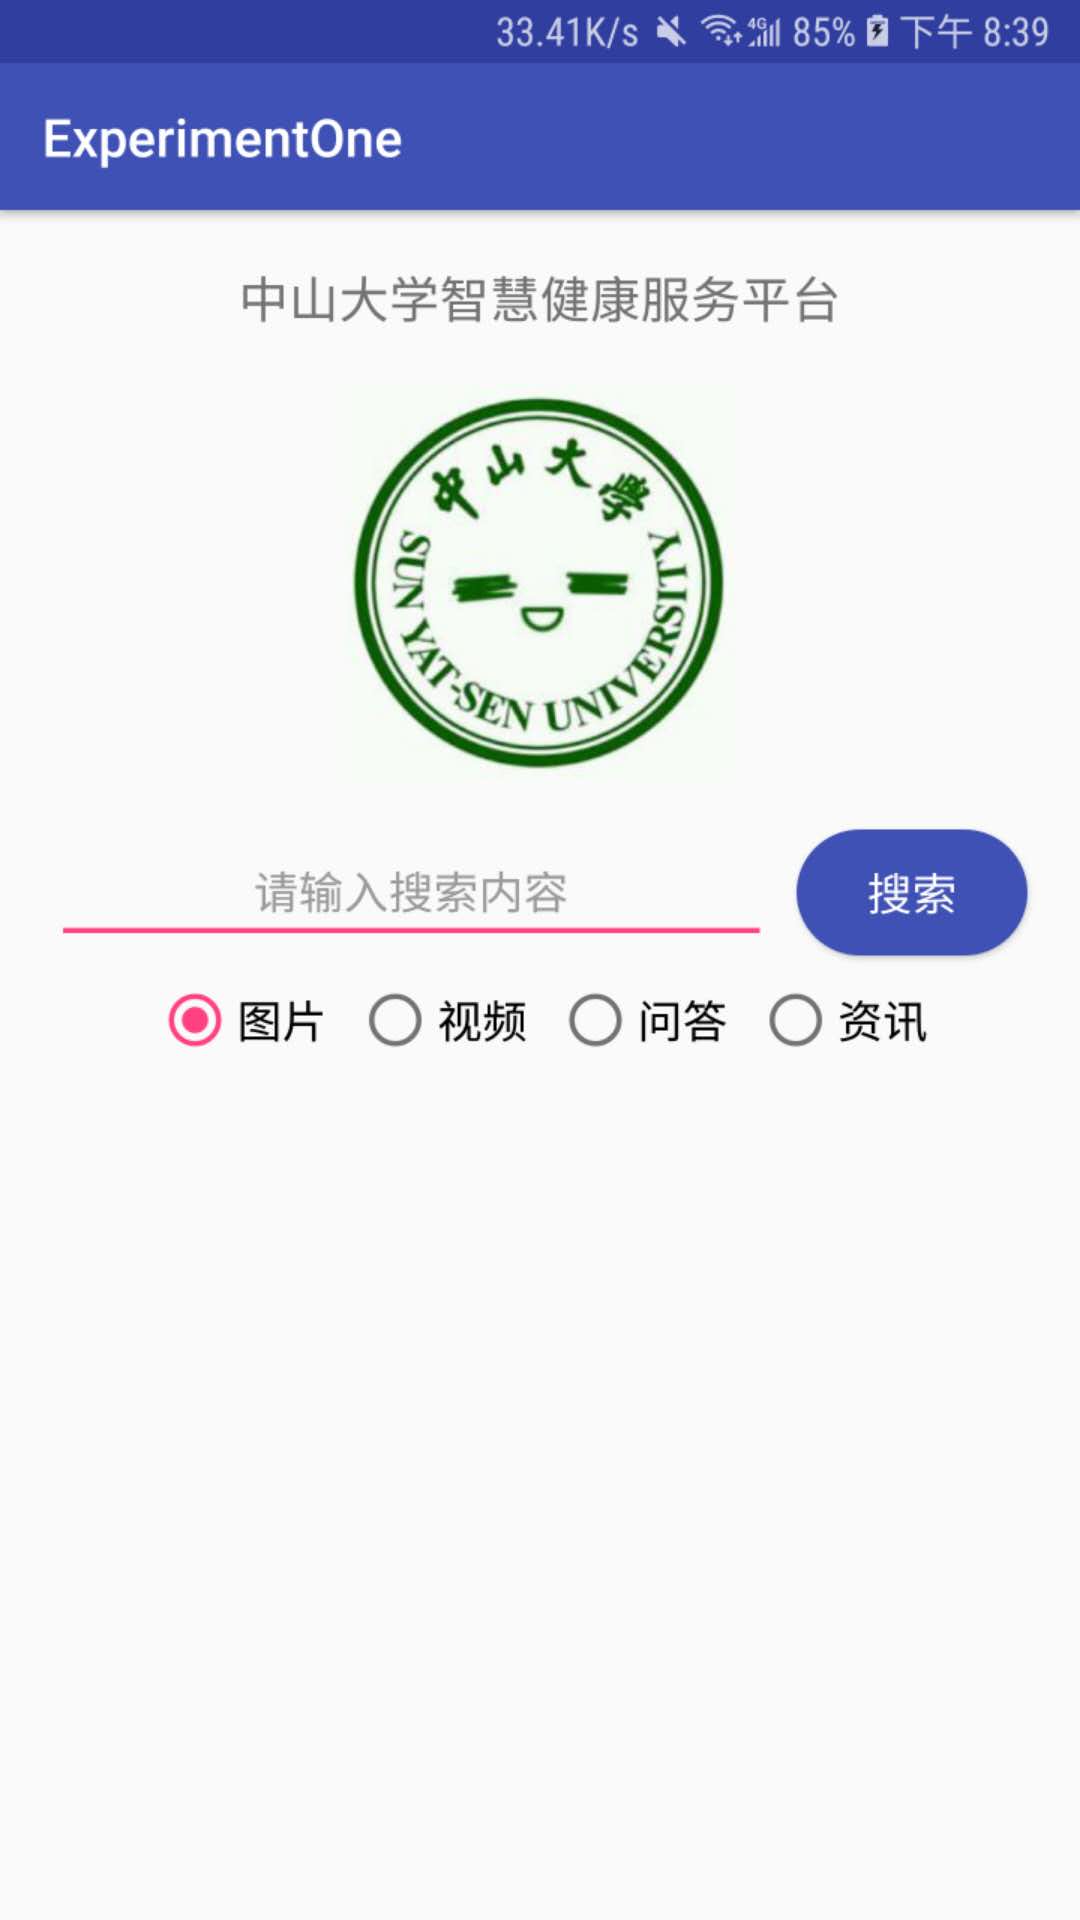
最终效果


